The morning Carla knocked on the back door, I was filling the chlorine test vial on the tailgate. She had a mason jar in each hand, both cloudy. The one from her kitchen tap had a gray cast to it, and there was a smell off it you could catch from two feet away. Her shallow well had come through another dry August, the water table had dropped the way it does, and when the level fell it pulled the water down through the old seep line by the barn. She wanted to know if she could just boil it.
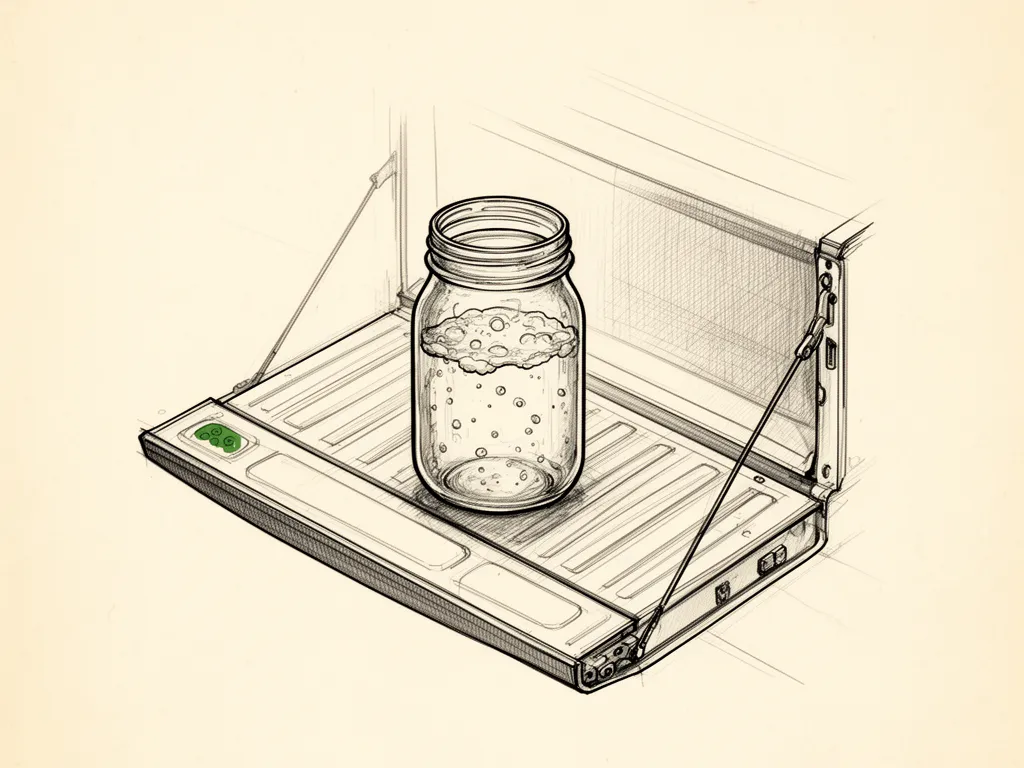
That was the start of a long afternoon, and it is a fair place to start talking about shock chlorination, because shock chlorination is what we did next.
A mason jar of cloudy water
Cloudy water off a shallow well after a dry spell seems like a common call. The well is fine all spring, then the level drops, the pump pulls harder, and sediment that sat quiet for years gets stirred into the column. Sometimes it is only silt. Sometimes it is silt plus coliform bacteria, because the shallow casing seems to let surface water in at the seam, or the seal at the top of the casing may have cracked and let runoff run straight down the outside of the pipe.
You cannot tell which one you have by looking. I have looked at hundreds of jars. The gray ones, the brown ones, the ones with a sheen on top. Some tested clean. Some looked clear as glass and came back positive. The jar tells you something changed. It does not tell you what.
So the first step is not treatment. The first step is a sample. A sample container from the county lab seems to cost little, the lab fee is modest, and the result, in my experience, comes back in a day or two. While that is running, you can do the test strips at the kitchen sink. Chlorine, hardness, pH. Hardness probably won’t hurt you, but it seems to hint at whether the water has been sitting in the ground long enough to pick up minerals, which suggests whether the aquifer is being recharged or drawn down. pH seems to hint at whether the water might corrode the casing. None of this is fancy. It is the same strips I keep on the shelf by the back door.
Carla’s strips showed nothing alarming. Her lab sample came back positive for coliform. Not the dangerous strain, but present. That meant the well was letting something in, and it meant shock chlorination was the right next step, after the source of the intrusion was found and sealed.
The cap that cracked
We pulled the well cap that afternoon. It was an old cast-aluminum cap, the kind that sits on the casing with a rubber gasket underneath, and the gasket had shrunk and split. There was a ring of dark stain on the concrete pad where rainwater had run down the side of the casing for years, carrying whatever it picked up off the ground. That was the path in.
This is the part people skip. They treat the water, the test comes back clean, and six months later it is positive again, because the path is still open. If the cap gasket is shot, or the casing is rusted through below grade, or the seal around the pipe where it enters the house is cracked, you are pouring chlorine into a leaky bucket.
The fix for Carla was a new cap and gasket, a bead of sanitary sealant around the base of the casing, and a look at the grade around the wellhead so the water ran away from it instead of toward it. Parts were cheap. The labor was an hour of scraping the old gasket off with a putty knife and cleaning the rim. The well driller I call, a former coworker from the county yard, always says the same thing: seal it first, then shock it, then test it again. He is right.
If you are not sure what your cap looks like, or where the vent screen is, or how the wiring comes through, it helps to know the parts of a private well before you start taking them apart. The cap is not complicated, but it has a right way and a wrong way to go back on.
Siphon hose and a headlamp
Once the cap was sealed, we mixed the chlorine solution in a clean bucket, poured it down the casing, and ran water from a hose back down the well to circulate it. Then we opened every tap in the house until we could smell chlorine at each one, and shut them off. The well sat overnight.
In the morning we flushed. That is the part that takes patience. For Carla’s shallow well that seemed to take about two hours of running, with breaks to let the well recover. A deeper well with a big column of water seems to take longer.
You will want a headlamp if you are doing this near dark, which you often are, because the mixing and circulating happens in the evening so the well can sit overnight. A clean siphon hose helps if you need to pull water from the top of the casing without dropping a pump line in. A pressure gauge attached to a hose bib tells you the system is holding while you work. None of this is specialized. It is the same kit I use on any service call.
After the flush, we waited a few days and took another bacteria sample. It came back clean. Carla ran a strip on the tap water a week later and again at the end of the month. Clean both times.
She asked me, standing in the yard, whether she needed to do this every year. She said, so the test tells me when. I said, that is the whole idea. She nodded and said, I should have tested in June. I said, you should have, and so should everybody else on this road.
The thing that went wrong that season was not Carla’s well. It was the place two roads over, where the owner shocked his well without fixing the cracked casing, got a clean test, and stopped thinking about it. By fall the coliform was back, and by then the casing had rusted through enough that the driller had to sleeve it. The difference was the hour he did not spend on the cap and the grade.
If you want to see the full sequence laid out in order, from the sample bottle to the final flush, go watch the full video and follow it step by step before you open your well cap.
I have done this two ways over the years, and both work. The first way is to do it yourself, with a bucket and a jug of plain unscented chlorine, following the procedure from the health district. The second way is to phone the driller and have him bring his gear. I have done both on my own well. The trade-off is straightforward. On my own place I do it myself. On a well I have never opened before, or one with an old cap I cannot identify, I call him. The cheapest reliable option wins, and which one that is depends on what you find when you look at the wellhead.
The myth I hear most is that shock chlorination is a thing you do once and the well is safe forever. What actually happens, in my experience, is that a well is a hole in the ground with water moving through it, and the ground changes. A wet spring seems to push runoff against the casing. A dry summer seems to drop the level and concentrate whatever is in the column. A frost heave seems to shift the pad and crack the seal. The well does not care that you treated it last year. The test is what tells you where you stand. The wells I service that stay clean are the ones that get tested on a schedule, not the ones that get shocked on a schedule.
A friend asked me last spring, over the fence, what I would do if I moved onto a place with a well I knew nothing about. While you wait, run the strips. Look at the wellhead. If the cap is old, replace the gasket. Grade the dirt so water runs away. Then, if the test is clean, drink the water. If it is not, shock the well, fix what let it in, and test again. Keep a case of laboratory containers near the rear entrance so you are not putting it off. He said, that sounds like a Saturday. I said, it is a Saturday, and then you know what you are drinking.
The objection I acknowledge, and partly agree with, is that most private wells go years without a problem, and testing feels like looking for trouble. There is something to that. Plenty of wells on this road have run for decades with no treatment and no illness. The odds are decent that any given well on any given day is fine. But the odds are not the point. A positive test caught early is a cap gasket and a bucket of chlorine. I accept that testing feels like an extra chore. I do not accept that it is optional.
If you are ready to do this on your own well, pull up the full video and follow it step by step while you work, from the sample bottle to the last flush.
The driller has a theory. I have a different one. Neither of us has been able to prove it yet.